Friday, January 2, 2015

Resolve

I hesitate to publicize New Years resolutions for many reasons.  They seem very private, they showcase my shortcomings, and moreover, I haven't though of very good ones.  Hehe.

So rather than mull over them for 10 months while I think of perfect ideas and wording, as is my tendency, here they are - imperfect.

This year, I will work toward:

1.  Loving my kids well.
This is something I completely changed in September.  I had been short tempered and had parented fairly poorly for quite a few months.  In September, I hit bottom, and changed how I parent.  This is still a daily effort, so I will add it for this year.

2.  Developing a plan for Sam.
This is such a fluid issue.  I can't do this alone, but I can, and will, be proactive in working with the psychiatrists, neurologists, and school (and any other specialists) to do what is best for him.  This also means working with my ex in constructive ways, which has sent me into a tailspin of panic in the past.  I will look for Sam's best and our family's best, and not worry about how my ex perceives us.

3.  Enjoying singleness
As I leaped into singleness, I was painfully lonely, hopelessly codependent, and desperately seeking love.  Not a great place to do anything but find trouble.  So this year, I am learning to love me.  To love who I am becoming, and forgive myself for not being perfect along the way.

4.  Finding a job that suits my talents better (with insurance)
My current job is absolutely perfect for my life situation right now.  It is flexible enough to allow me to be constantly interrupted by school emergencies or appointments.  But it offers no insurance, and is only part time.  As life calms down, I would love to find a job that offers insurance and uses my talents.

5.  Better balancing work and parenting
Since my job is flexible, I feel like I spend every moment without my kids, working.  I would like to plan my time better so I have some true 'off' time to recharge and be a better parent while my kids are home.

6.  Blogging consistently and honestly
My struggle with blogging, as with life, has been how far I am willing to remove the mask.  Pretending that I'm holding life together pretty well is easy if I'm quiet.  But once I talk about my life, the ugly, scary parts trickle out, and I feel the need to hide those.  So I will be more honest - with the good and the bad.

7.  Publishing 2 patterns on Etsy
I've had 2 quilt patterns in my brain for years, and I would love to publish them this year.  This goal really also means spending a LOT more time sewing.

8.  Making a five year plan
I have always had 1, 2, and 5 year plans in my life.  They've always changed, but having those plans has been a comfort to me.  This year, with Sam's health changing so wildly, and with moving and divorce, I have no plans.  This causes undue stress.  I am going to make both financial and personal plans, and soon.

9.  Making my house a home
It seems as if the past 10 years have been about living in a house.  I want to make a home with my children.  This is both in attitude and little 'homey' decor.

Me sewing with my best helper this morning.  I've missed sewing!

What are your resolutions?  Do you write them down, or keep them in your mind?  Do you find that one way or the other is more effective?

Monday, December 29, 2014

What's in a Name?

I started this blog over a year ago - claimed the title and wrote an initial post.  

And then it sat.  I dumped a few patterns onto it, but never really used it.  I think it all comes down to the name.  "When the Pieces Come Together."  It's about quilting, and about life.  And as I've watched thousands of quilt pieces come together, my life has unraveled in places, this past year.  And that seemed so private.  So raw.  So embarrassing.

So here I am, starting a blog, with some honesty and vulnerability.

Hi, I'm Katie.  I'm 33, divorced, and live in Florida with my four kids between the ages of 4 and 10 (in 2 weeks).  I should be a student, but that's not going too well.  I have a job, but that's somewhat difficult with the other issues going on at home, too.  But you know what I am?  I'm a mom who loves her children fiercely, even when they're extremely difficult to love.

My littles (younger 3, ages 4, 6, and 8) are dealing with divorce and dad's new girlfriend moving in as could be expected - they hate me, and they love and adore and need me all at once.  That works - they just need extra love.

My oldest, though, my sweet Sam, is another story.  Already diagnosed as having ADHD and Autism, we're in the process of seeing how deep the rabbit hole goes for him.  Most recently, he was additionally diagnosed with Episodic Mood Disorder, which is either bipolar 1, manic bipolar, major depressive disorder, or schizophrenia.  It's not insignificant, especially at age 9.  He is also a danger to himself and his siblings, and to me.  


So, that's where I start.  That's my life today.  The pieces will come together, even when I have no idea how.  

Friday, July 25, 2014

Twin I-Spy Lattice Quilt

Twin I-Spy Lattice Quilt


Finished Size: 66x83"

Fabric Requirements:
180 3"x6.5" I-Spy Squares

60 2"xWOF (width of fabric) sashing strips
backing slightly larger than 67x84"
batting slightly larger than 67x84"

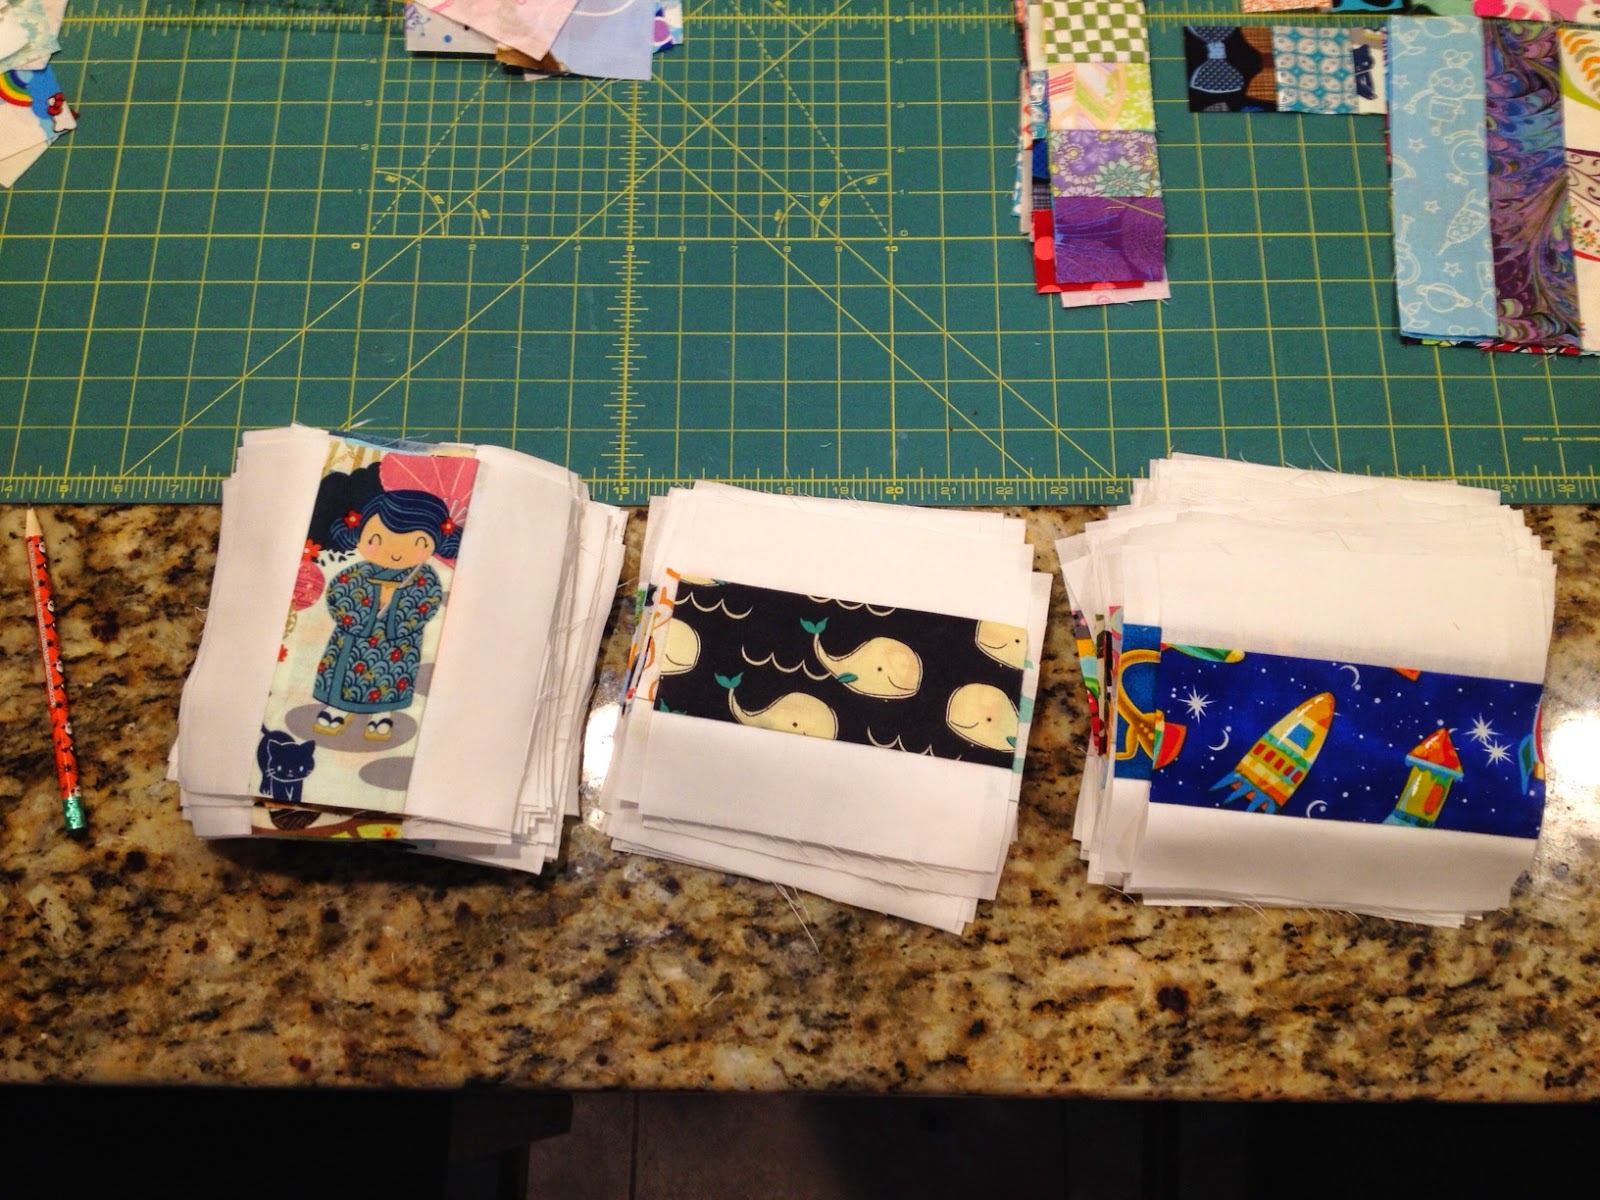
To begin, sew each I-spy fabric to the sashing strip with 1/4" SA (seam allowance).

When the fabrics are all sewn onto sashing on one side, cut them apart and sew the other side with 1/4"SA.


Once all 180 I-Spy fabrics have sashing on both sides, press them all with seams to the inside


Next, trim all squares to 6"x6"


Now it's time to lay out the quilt.  To do this, separate the squares into 3 piles.  One is for squares that must be laid out vertically, the next is for horizontal squares, and the third is for squares that can go either way.


First, lay out the horizontal and vertical squares.  You will have 12 squares across and 15 down.  The layout is all according to preference - just make sure there are no areas that are all dark or light, or bright colors all in the same spot.  Here's how I laid mine out.


Now, pin squares together and sew strips.

Press the seams to the solid color, and then sew strips together to complete your quilt top. Press the seams to alternating sides (left on one row, right on the next)


Now that you have completed the quilt top, baste it to the batting and backing.  I use spray baste, but you can pin if you would like.

Quilt as desired.  For this quilt, I meandered on the white.


Bind and wash.  Congratulations!

If you're looking for all the I-Spy fabrics and binding fabric, please visit my Etsy shop.  I'd be happy to help you create your very own I-Spy quilt top!

Tuesday, February 25, 2014

Quilting

Most instructions for quilting say something like "quilt as desired" at this point.  And that's why I didn't try quilting for years.  It seemed like some sort of magic.  It's not.

For this quilt, we just followed the lines of the squares and "stitched in the ditch" between the squares and sashing.  This is just using your regular machine and sewing lines.

Another option is meandering quilting or small loops.  Both are easy and require absolutely no amazing ability to draw.  There are tutorials all over the internet about this.


My favorite tutorial for free motion quilting is at http://www.youtube.com/watch?v=39I5A3iyCtw
It's a 4 part series, but gives a great overview of how to free motion quilt.

For stitch in the ditch, just use your machine as is, sewing right on your seam lines.

Now that you've finished quilting, it's time to trim and bind the quilt.  To trim, cut the batting and backing to the exact edge of the top of the quilt.

To bind your quilt, you're going to need 8 strips of fabric (width of the fabric - about 44"), each 2 1/4" wide.  Cut your 8 strips and then sew them together into one long strip.  For this quilt, we used a scrappy binding.  Iron the length of binding in half so the right side is out.


Now, it's time to pin the binding onto the quilt.  Pin it onto the back, starting at least 12" away from a corner.


For the corners, Oh Fransson has the best tutorial:
http://www.ohfransson.com/oh_fransson/2009/04/quilt-along-15-making-and-sewing-binding.html


When you have pinned around your quilt, you will have extra binding.  Cut each edge to have 1" extra and pin them together.


Once the binding is pinned, it's time to sew it.  Use a 1/4" seam allowance and sew all around the binding, starting about 6" from where you started pinning.

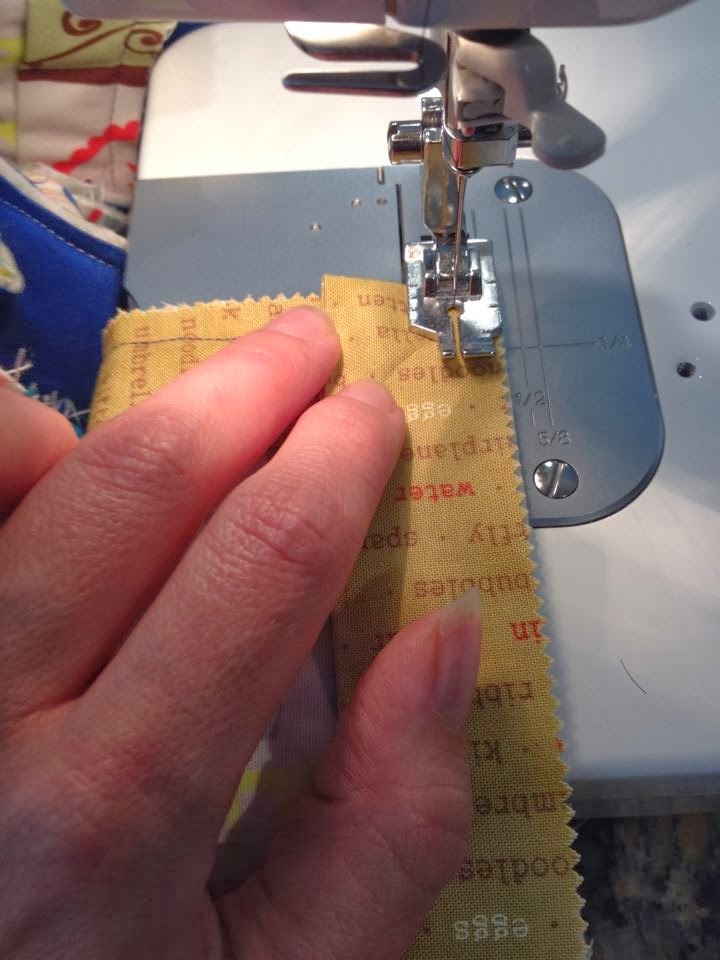
Here is a picture of sewing corners.  Sew to the fold and reinforce it.  Cut the thread, turn the quilt, and start at the corner fold again (refer to the Oh Fransson tutorial for excellent instructions).


When you almost reach the end, stop about 6" before the end of your binding.  Cut your thread, match up your binding ends and sew them together, and then go back and sew the last part of your binding to the quilt. 

At this point, you need to iron the binding to the front.  Make sure to iron evenly, not worrying too much about the corners.


Now, sew at the very, very edge of the binding, on the front of the quilt.  To make corners, fold one side over the other, but there's no need to stop stitching at corners; simply turn the quilt.

When you finish, wash your quilt with a Shout Color Catcher, and dry it.


Congratulations! 


Thursday, February 20, 2014

Now it's time to baste.

I spray baste.  Feel free to look online for steps if you'd prefer to pin baste.

For basting, I use 505 Basting Spray.  It's worth the extra cost - other sprays either don't hold or gunk up your needle.

Clear out a space on the floor big enough that you have at least 6" around all the edges of your backing.  Now, I use a tile floor and duct tape.  I used to use sewing pins and berber carpet.

Lay out the backing fabric with the right side down, and tape it to the floor.  Make sure it's fairly taunt but not stretched.


Now, lay out the batting on top of the backing.  This is an art, and takes awhile.  Don't stretch it tight, but make sure to smooth it from the center so there are no bumps or folds.


Now, smooth the quilt top over the batting, making sure it is on top of the batting and backing with no spots sticking off.


Now, pull back the quilt top and the batting together, from half of the quilt.  Spray the backing and slowly smooth the batting and top (held together) over the backing.  Then, spray the second half of the backing and smooth the other half.

Do the same for the quilt top.


When you finish, it will all be held together in a 'sandwich', ready for quilting.


Twin I-Spy Quilt

Every so often, there is an I-spy square swap on MLL, but I've heard from quite a few ladies that they have no idea what to make with the squares, or how to make the most of them.  Here's my favorite basic use for them: a twin I-spy quilt.

This quilt will finish at 66"x82", which is a great twin size.

Materials Needed:
80 I-spy squares, each cut to 6.5"x6.5"
2 1/4 yards solid fabric for sashing
twin cotton batting (or 72x90 if buying off the roll)
4yd backing fabric

DO NOT PREWASH ANYTHING.

Keep your solid fabric folded as it was on the bolt. Press. Cut strips of your solid fabric for sashing.  You will need 32 strips, selvage to selvage each 2.5" wide.


Next, choose your 80 favorite charm squares.


Sew sashing onto one side of each charm square using a 1/4" seam allowance.  I find this easiest to do in strips, and I cut them afterwards.


Iron the seam allowance toward your I-spy squares.


Now that you have strips of squares, cut them apart in straight lines.


Next, sew pairs of 2 squares together.  You will sew the sashing from one onto the charm square from the other.

(this is a photo of sets of 4.  I forgot to photograph the pairs)


Then, sew them together into strips of 4, and then into strips of 8.  While doing this, make sure that you don't have too many similar colors of themed squares together.  The idea of sewing a charm quilt is to make it look random, but


Now, you should have 10 strips, each with 8 squares.  Iron each strip with the seam toward the charm square.


When you reach this point, sew sashing onto the left edge of each strip, so there is sashing on both outside edges of your strips.

Now it's time to sew the remaining sashing strips together.  This will be what you sew onto each of your strips of 8 squares.  Once you sew all the sashing strips together, iron them.


Sew sashing onto the bottom of each set of 8 squares.  They will look like this:


Iron them.


Now, lay the strips out on the floor.  This is the time to figure out what looks good together.  I had lots of blues, so I tried to avoid too many blues in any one spot.


Now, sew the strips together to finish your quilt top.  Also, sew a sashing strip onto the top of the quilt, (the top of the top strip).